We are reader supported and may earn a commission when you buy through links on our site. Learn more.
You can whitelist your original IP address on NordVPN to activate and use its Smart DNS service. That way, you get Smart DNS addresses specific to your region, which aids content unblocking on smart TVs, gaming consoles, and other units that can’t download a native VPN app.
Likewise, you can whitelist a NordVPN-generated IP address on your firewalls, secure file storage systems, or other network parameters to set up secure external access. But this only works on some NordVPN servers and IP types.
So, continue reading for stepwise guides on whitelisting your NordVPN IP address for your preferred purposes.
How to Whitelist Your IP Address for SmartDNS on NordVPN?
Whitelisting your IP address for NordVPN is the first step to using Smart DNS.
Here’s how to do so:
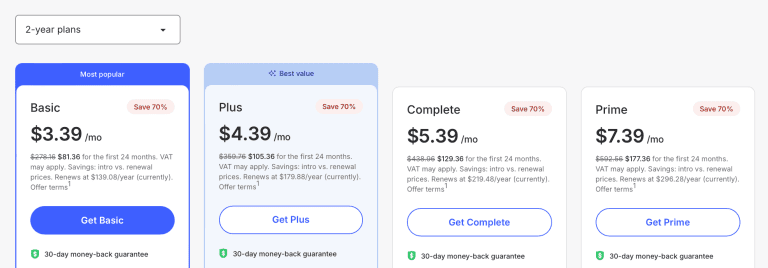
Buy a NordVPN subscription. Grab these HUGE discounts and choose the multi-year plans for the best savings.
Disconnect from any VPN or proxy servers you’re connected to.
Log in to your NordVPN member area. You’ll need the username (email) and password you signed up with.
Click “NordVPN” in the left menu bar.
Click “Enable” under Smart DNS.
NordVPN shows you your detected IP address. Click “Activate SmartDNS” to continue.
Click “Ok, got it” on the next screen.
You’ve successfully whitelisted your original IP address to use SmartDNS. You should see a “Pending” status message which updates to your Smart DNS later.
You can whitelist a NordVPN server IP address to ensure only that IP address can remotely access sensitive files, file storage devices, and online platforms.
However, you shouldn’t do this with the standard 5600+ NordVPN servers.
That’s because each server has an IP range, so you don’t get the same IP address if you connect to a server twice.
In other words, you’ll be locked out of sensitive accounts you set up the whitelists for since you can’t get the same IP address on a standard server twice.
Scroll down and click “Add” in the Dedicated IP section.
Click “Continue to payment.”
Complete the payment details.
You can now choose a dedicated IP server location.
Once you get your permanent dedicated IP address, you can whitelist the IP address on your preferred routers, firewalls, storage devices, etc.
I’ve added an example video of how to whitelist this NordVPN IP address on Windows units:
Is It Safe to Whitelist an IP Address on NordVPN?
It’s safe to whitelist your IP address on NordVPN since the VPN isn’t in any data-sharing alliance with any country. Likewise, the provider is based in the privacy-friendly Panama, so it won’t share your IP address with local, state, or federal authorities.
However, always stay within the VPN’s terms of service to enjoy its full breadth of online security and privacy.
Whether you want to bypass content restrictions via smart DNS or secure your online accounts better, you now know how to whitelist your IP addresses via NordVPN.
Getting a NordVPN account to whitelist IP addresses this way also gives you access to its 5600+ servers, reliable content unblocking, top-level encryption, and fast server speeds, among other things.
Protect private web traffic from snooping, interference, and censorship. All plans are covered by a no-hassle 100% money-back guarantee for your first 30 days of service.
Bram Jansen is a renowned expert in the field of cyberspace, with a wealth of knowledge and experience in online security and VPN technology. His lifelong fascination with the virtual world began with his love for science fiction, and he has spent his career exploring the intersection of technology and online security. He works with a team of experts to provide unbiased and accurate information to consumers worldwide.