We are reader supported and may earn a commission when you buy through links on our site. Learn more.
Surfshark works with Destiny 2, allowing you to go on marauding patrols, participate in dungeons, and collect loot from bounties without risking DDoS attacks or speed drops.
Additionally, Surfshark provides unlimited simultaneous connections for multiplayer mode and an extensive server network to beat geo-restrictions and reduce pings on your quest to save Earth’s last safe city from the darkness.
Ready to enjoy the fast-paced and thrilling Destiny 2 game?
You can use Surfshark to play Destiny 2 on PC or console for faster speeds, enhanced security, and unblocking the title from any location.
However, the setup differs across devices, so I’ll share the steps for each below.
How to Play Destiny 2 With Surfshark on PC?
Surfshark is compatible with Windows, macOS, Linux, and Chromebook, allowing you to securely play the Prophecy dungeon and survival trials on your PC.
Follow these steps:
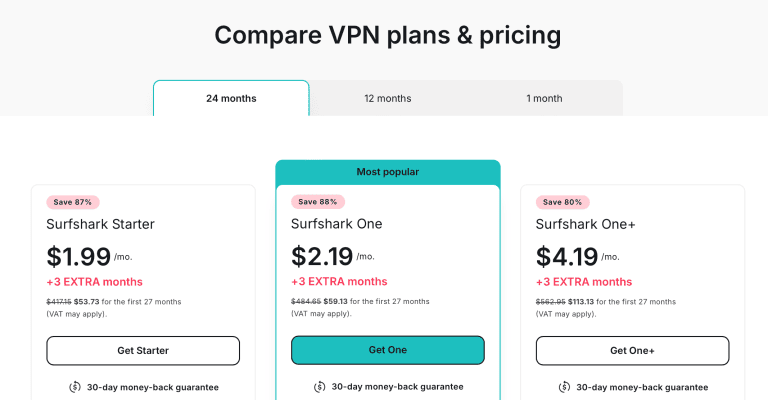
Buy a Surfshark plan. I recommend the multi-year plan for its excellent cost savings.
Image for illustration only. Design, deals, and details may differ. Click on the image for current info.
Download and install the Surfshark VPN app for Windows or macOS. I’ll download the Surfshark VPN app for Windows in this guide.
Log into your Surfshark account with your credentials (email and password).
Connect to an appropriate Surfshark protocol. I recommend connecting to the WireGuard Protocol for its excellent balance of speed, security, and low latency. To choose a protocol, go to Settings > VPN Settings > Protocol.
Connect to an appropriate Surfshark server location. Consider connecting to a single or double-digit ping server location for a fast and lag-free Destiny 2 experience. Go to VPN > Locations > Fastest location/Nearby country for the lowest ping servers.
Launch Destiny 2 and securely collect valuable Experience Points (EPs) by battling the Lucent Brood and the Witch Queen using Surfshark VPN.
How to Play Destiny 2 With Surfshark on Gaming Console?
Surfshark works with Xbox, PS3, PS4, and PS5. In this guide, I’ll use a Windows PC to create a virtual Surfshark router for playing Destiny 2 on PlayStation 4.
Here’s how.
Subscribe to a Surfshark Plan. I recommend the multi-year plan for its huge savings.
Image for illustration only. Design, deals, and details may differ. Click on the image for current info.
Download and install the Surfshark VPN on your PC. I’ll use Windows 11 for this guide.
Go to Settings > Network & Internet > Mobile hotspot on your PC.
Turn on “Mobile hotspot” and click “Edit” to change the network name and password.
Click “Advanced network settings.”
Click “More network adapter options” and ensure the green light under “Wi-Fi” is on.
Right-click “Surfshark WireGuard” and select “Properties.”
Under “Sharing,” tick “Allow other network users to connect through this computer’s Internet connection” and click “OK.”
Navigate to “Settings” on your PS4 and connect to the PC mobile hotspot you created.
Open Surfshark and connect to an appropriate server for Destiny 2.
Launch Destiny 2 and enjoy fast and secure gameplay.
Why Is Surfshark Ideal for Playing Destiny 2?
Surfshark is a fast and secure VPN for Destiny 2 that offers a large server spread, DDoS protection, and unlimited simultaneous connections.
Surfshark offers unlimited simultaneous connections across all devices.
My gaming team of 5 used a single Surfshark account to play Destiny 2 without significantly reducing the speed or performance of the game.
Large Server Spread
Surfshark offers an extensive server network comprising 3200+ servers in 100 countries, allowing access to Destiny 2 from multiple locations.
Additionally, Surfshark’s extensive server network provides access to low-ping servers that reduce lag and improve the quality of your Destiny 2 game.
Excellent DDoS Protection
Experiencing DDoS attacks from malicious bots and sore losers during a dungeon, quest, or other PVP matches are common. Fortunately, Surfshark offers powerful DDoS protection that keeps you safe on Destiny 2.
Dedicated IPs
Surfshark offers paid dedicated IP addresses that stabilize internet connections, reduce Destiny 2 gaming bans, and ensure faster gaming speeds. Surfshark also offers 35+ free static IP addresses that improve your gaming experience by providing a stable internet connection. I recently used the Surfshark Netherlands – Amsterdam dedicated IP to play Rising Resistance in the Beyond Light campaign, and I was impressed by its performance.
Fast Speeds
Surfshark offers a lag and buffer-free Destiny 2 gaming experience thanks to its ultrafast WireGuard protocol. While playing the Witch Queen campaign, I tested Surfshark speeds and recorded an impressive 84 Mbps speed, a mere 16% speed drop, on a 100 Mbps network.
Multi-Device Compatibility
Surfshark seamlessly works across numerous platforms, including macOS, Windows, Android, and iOS. This feature lets me switch between various gaming devices, improving my Destiny 2 experience. I often switch from my laptop to my gaming PC when playing the fast-paced and graphic-intense First Contact and Under Siege PVP missions in the Lightfall campaign.
No Borders Mode
Surfshark offers an intuitive No Borders feature that allows access to Destiny 2 in areas with heavy internet censorship, like China, Iran, and Cuba.
This Surfshark feature automatically kicks in when it detects Destiny 2 region-specific blocks, allowing you to connect to servers that support the game.
I used this feature extensively to play Destiny 2 in Cuba.
Surfshark is an excellent Destiny 2 VPN that guarantees fast speeds, top-tier DDoS protection, access to low ping servers, reduced gaming IP bans, and unlimited simultaneous connections.
And since using Surfshark to play Destiny is a simple process that requires a few uncomplicated steps.
Why not give it a try?
Grab this exciting Surfshark offer today and enjoy massive savings!
Protect private web traffic from snooping, interference, and censorship. All plans are covered by a no-hassle 100% money-back guarantee for your first 30 days of service.
Bram Jansen is a renowned expert in the field of cyberspace, with a wealth of knowledge and experience in online security and VPN technology. His lifelong fascination with the virtual world began with his love for science fiction, and he has spent his career exploring the intersection of technology and online security. He works with a team of experts to provide unbiased and accurate information to consumers worldwide.